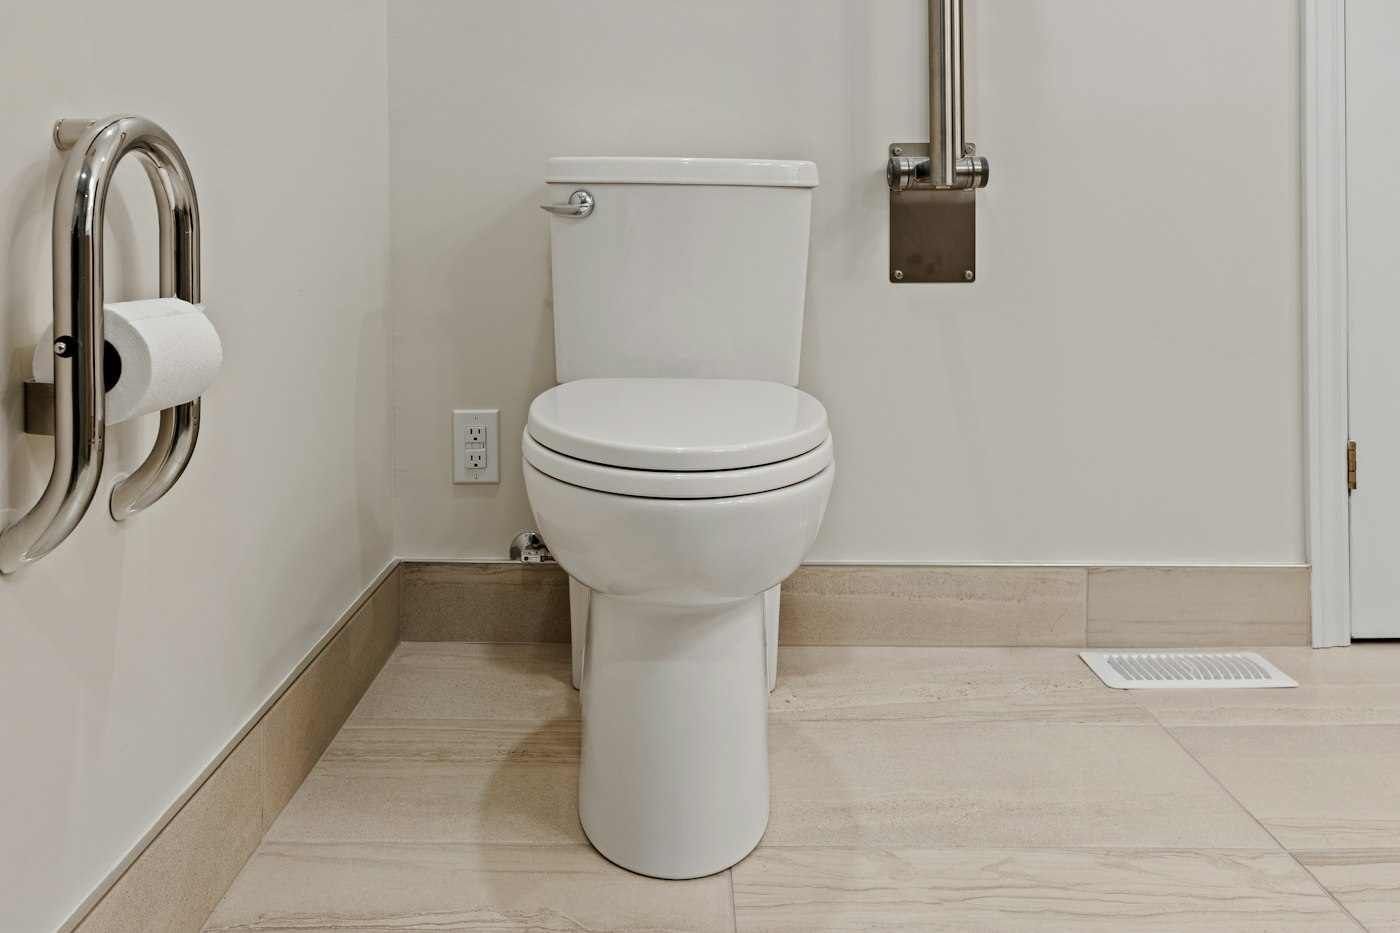
- A grab rail only works if it is where the person actually reaches, fixed into something solid, and shaped for how they move.
- The biggest mistakes are position, fixing, and "one size fits all". They are all avoidable.
- Ask for the rail position to be agreed with the person (and the OT if there is one) before drilling.
- Test every rail with the person before the installer leaves.
Grab rails look simple. A bar, a couple of screws, done. Which is why so many of them end up on the wrong wall, at the wrong height, fixed to nothing, or sold as a "kit" that no one checked against the person using it. A rail that is a little off can feel safe and still fail at the exact moment someone needs it.
This guide is built from the problems we see when we are called in to fix someone else's rails. It will help you avoid them.
Rail positions should come from the person's needs and, where there is one, the occupational therapist's recommendation. The guidance below is general, not a prescription.
The nine mistakes
1. Putting it where it looks right, not where the hand goes
This is the most common error. Installers and visitors put rails where a "standard" person would expect to find one. But people grab where their body is going, which depends on their strength, balance, which side is weaker and how they transfer. Ask the person to show you where they reach. Better still, watch them do the task.
2. Fixing into tile, plasterboard or "the wall" without checking what is behind it
A rail is only as strong as the surface it is fixed into. Plasterboard alone will not hold body weight. Behind most good bathroom walls there is a stud, a noggin (a horizontal timber brace) or solid backing added for the purpose. A reputable installer finds the framing, adds solid backing where needed, or uses a fixing designed for the wall type. If anyone says "these will be fine in the tile", ask them how.
3. Suction and clamp-on rails sold as grab rails
Suction rails and clamp-on rails have a place as balance aids for someone who is steady and wants a bit of extra confidence. They are not designed to take someone's full weight, and many fail without warning. If a person needs to pull themselves up or save themselves from a fall, they need a rail fixed to the structure.
4. Wrong shape for the task
| Rail type | Good for | Watch for |
|---|---|---|
| Horizontal | Pulling along, steadying when turning | Can be hard to push up from if the person needs to stand |
| Vertical | Getting up and down, steadying at an entry or shower | Hand has to slide; check height suits their reach |
| Angled | A natural reach when standing or sitting | Needs correct angle and position to be comfortable |
| L-shaped or combination | Both pulling and pushing, often near toilets or showers | Needs the right side, left or right, for the person |
| Fold-down | Space-limited rooms, support when needed | Must be rated for the use and fixed properly |
| Drop-down beside toilet | Transfers where side space is available | Not suitable where there is no wall space for it |
5. Wrong diameter or not enough clearance
A rail that is too thick is hard to grip; too thin and it digs in. The gap behind it matters too: too small, and fingers jam; too large, and a forearm slides through. Australian Standard AS 1428.1 provides dimensions for accessible facilities, including rail diameter and wall clearance. Your installer should be able to tell you what they are working to, and the OT may set specific requirements for the person.
6. Finish and surface: slippery when wet, cold when touched
Polished stainless looks great and can be slippery with wet or soapy hands. A textured or coated finish gives more grip. In a bathroom used year-round, a coated rail can feel warmer to the touch, which matters to some people. Choose the finish with the person who will use it.
7. Not thinking about the other person
A rail set up for the person living in the house may not suit a carer, a partner or a visitor. Consider who else uses the room and whether a second rail or a different position solves it. Do not let that override the primary user's needs.
8. Ignoring waterproofing
In a wet area, every hole is a potential leak. Drilling through a waterproof membrane without sealing it properly can cause damage you do not see for months. Rails in wet areas should be fitted by someone who knows how to seal the penetration, or with the right licensed trade involved. Ask how they will protect the waterproofing and who is responsible if there is a problem.
9. Not testing it with the person
A rail that passes the installer's pull test might still be wrong for the person. Have them use it, in the clothes and footwear they usually wear, doing the actual task. If it feels awkward, say so before the installer packs up. Adjustments are far easier on the day.
Fixed into the structure, placed where the hand goes, tested by the person who will use it. That is the whole recipe.
Where rails usually go: a room-by-room guide
These are common starting points, not instructions. The best positions depend on the person, so use them as questions to ask rather than answers to copy.
A rail beside the toilet to help with standing and sitting, and sometimes one behind or on the other side. Height and distance depend on how the person transfers. Where there is limited side space, a fold-down or floor-mounted option may suit.
A vertical rail at the entry for steadying on the way in, and a rail inside, positioned where the person can reach while seated or standing. A shower seat changes the position needed. Avoid placing rails where they interfere with a shower screen or hand-held shower mount.
A rail on the wall and sometimes on the bath edge for getting in and out. Bath transfers are one of the more difficult tasks, so an OT's input is particularly valuable here.
Handrails on stairs, beside external steps and along ramps. Rails at the front door help with balance while opening the door or negotiating the threshold.
A rail at the bed edge, or a freestanding frame, for getting up. A rail along a long hallway can help with balance, but must not narrow the clearance for a frame or chair.
Rail position: the reach test
You can learn a lot in five minutes before a single hole is drilled. Do this with the person who will use the rail, and with their usual aid nearby.
- Stand or sit naturally
Do not pose. Move the way they usually do, with the habits they have developed.
- Mark where the hand lands
Use a pencil or a piece of tape. Mark the spot where the hand reaches without stretching or twisting.
- Repeat from the other side
If the person uses a rail on the left and then on the right, test both. Weakness on one side changes the answer.
- Check from sitting
If the person uses a seat or toilet, repeat the test from sitting, then standing from sitting.
- Photograph and share
Take photos of the marks, and send them to the OT or installer so they can plan the fixings and backing.
Questions to ask any installer
- How will you find and confirm what is behind the wall?
- What fixings or backing will you use, and why?
- What is the rail rated for, and do you have the product specifications?
- How will you protect the waterproofing if you drill in a wet area?
- Can I try the rail position with tape before it is fixed?
- What is your warranty, and are you licensed and insured for this work?
Do and do not
Do
- Agree the position with the person (and OT) before drilling
- Fix into framing, solid backing or a purpose-designed fixing
- Choose the shape for the task, not the shop display
- Test with the person, in normal clothes and shoes
- Keep the paperwork: product details, installer details, warranty
Don't
- Rely on suction or clamp-on rails for body weight
- Place a rail only where it looks tidy
- Drill through waterproofing without a sealing plan
- Assume one rail covers every task in the room
- Let the first pull test be the only test
After installation: the five-minute handover check
- The rail does not move, twist or flex when pulled hard
- The person can reach it naturally from sitting and standing
- The grip feels right with wet or soapy hands
- Nothing else in the room, such as a door, screen or mixer, hits the rail
- The installer has explained how any waterproof seals were done
- You have the product details and warranty in writing
- The OT has been told, if one is involved
Myths about grab rails
"Rails make a home look like a hospital."
Modern rails come in a range of finishes and shapes. Many are designed to double as towel rails or shelf supports, and a well-placed rail looks intentional.
"One long rail will cover everything."
A single rail can leave gaps at the points where people most need support, such as the entry, the toilet and the shower. Several shorter rails in the right places often work better.
"A rail only needs to hold the person's weight."
It needs to hold more than that, including sudden loads if someone slips. That is why fixing into solid backing matters.
"We can add rails later."
Often yes, but it is much easier to plan backing before walls are closed up, so mention rails early if you are renovating.
How we install rails
We fix rails into solid backing, agree positions with you and the OT before drilling, and involve the right licensed trade when the work goes through waterproofing. We will walk through the position with the person on the day, and we explain what we did and why. See our handrails and grab rails page or book a free site visit.
Your first week: a simple action plan
You do not have to do everything at once. This sequence keeps things moving without overwhelm.
- Step 1
Ask the person to show how they stand up, turn and sit in each spot.
- Step 2
Mark where a hand naturally reaches.
- Step 3
Check what is behind the wall: studs, tile, waterproofing.
- Step 4
Choose rail type, length and finish to suit.
- Step 5
Fit by a qualified person and test with weight.
- Step 6
Re-check the fixings after a few weeks.
Plain-English glossary
- Backing
- Solid timber or a plate inside the wall that a rail is fixed to.
- Diameter
- The thickness of the rail. Too thick or too thin is hard to grip.
- Clearance
- The gap between the rail and the wall for the hand.
- Load rating
- The weight a rail and its fixings are designed to hold.
What happens at a Nemco site visit
If you would like a second pair of eyes, we visit the home, listen to the person first and look at the spaces they actually use. We take measurements and photos, check access for tradespeople and talk through the options in plain language, including simpler or cheaper ones where they will do the job. You then receive a written, itemised quote that your therapist, plan manager or family can read and compare. There is no obligation to proceed, and we will tell you if something is outside what we do. We also explain what each step involves for the person living there, how long the work is likely to take, whether the home can be used while it happens, and who to call if something does not work as expected after handover.
What to have ready
- Any therapist or hospital letters, or the name of the person coordinating care
- Photos or a rough sketch of the rooms involved
- A list of the times of day the person finds things hardest
- Landlord, strata or owner details if the home is not owned
- Your funding pathway, if you know it, or the name of the plan manager
When to bring in a professional sooner
If the person has had a recent fall, a change in health, a hospital stay or a new diagnosis, or if you are unsure whether a change is safe, speak to an occupational therapist or doctor before making changes. A quick conversation early can save money and avoid doing the wrong thing.
Questions to talk through at home
- Where does the person actually reach for support now?
- Is the wall solid enough for a rail?
- Is the finish slip-resistant when wet?
- Who checks the rails over time?
Last checked: November 2026. Rules, prices and program details change, so confirm with the source before you act. Dimensions in AS 1428.1 are a reference point. Your OT and installer decide positions for the individual.
Common questions
Can any tradie install a grab rail?
The key is knowing what is behind the wall and how to fix into it safely. In wet areas, waterproofing matters too. Ask about licences, insurance and method.
How strong should a grab rail be?
It should be designed and fixed to take body weight, including sudden loads. Ask for product specifications and how it will be fixed.
Can rails be fixed to tiles?
They can be fixed through tiles, but the fixings must go into solid backing or framing behind, and the penetration must be sealed in wet areas.
Do I need an OT to place a rail?
Not legally, but it helps. The OT can see how the person moves and recommend positions you might not think of.
Can rails be moved later?
They can, but each move leaves holes that must be filled and, in wet areas, sealed. Plan well first.